What is a Payment Gateway?
A payment gateway is a secure technology that allows businesses to accept online payments on their website or app. It connects the customer, merchant, and bank and safely processes the payment information so that the transaction can be approved in real time.
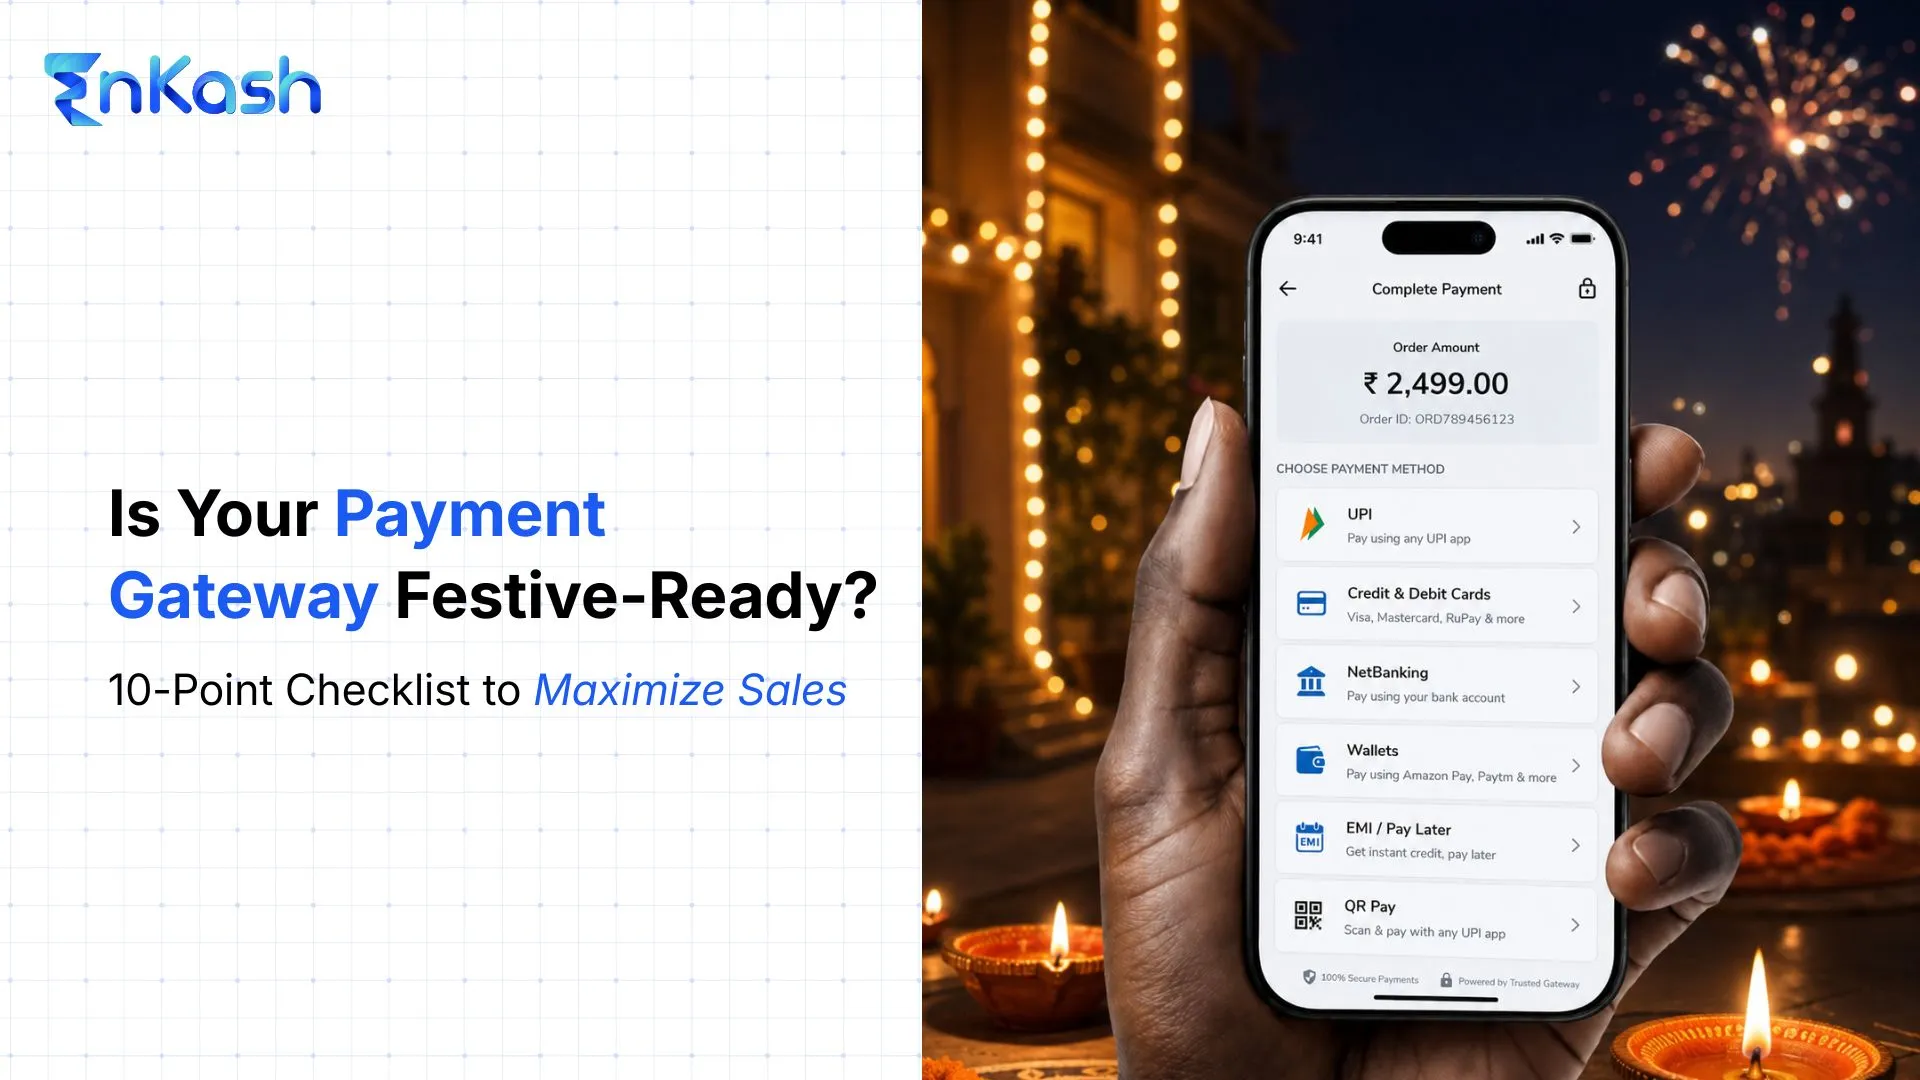
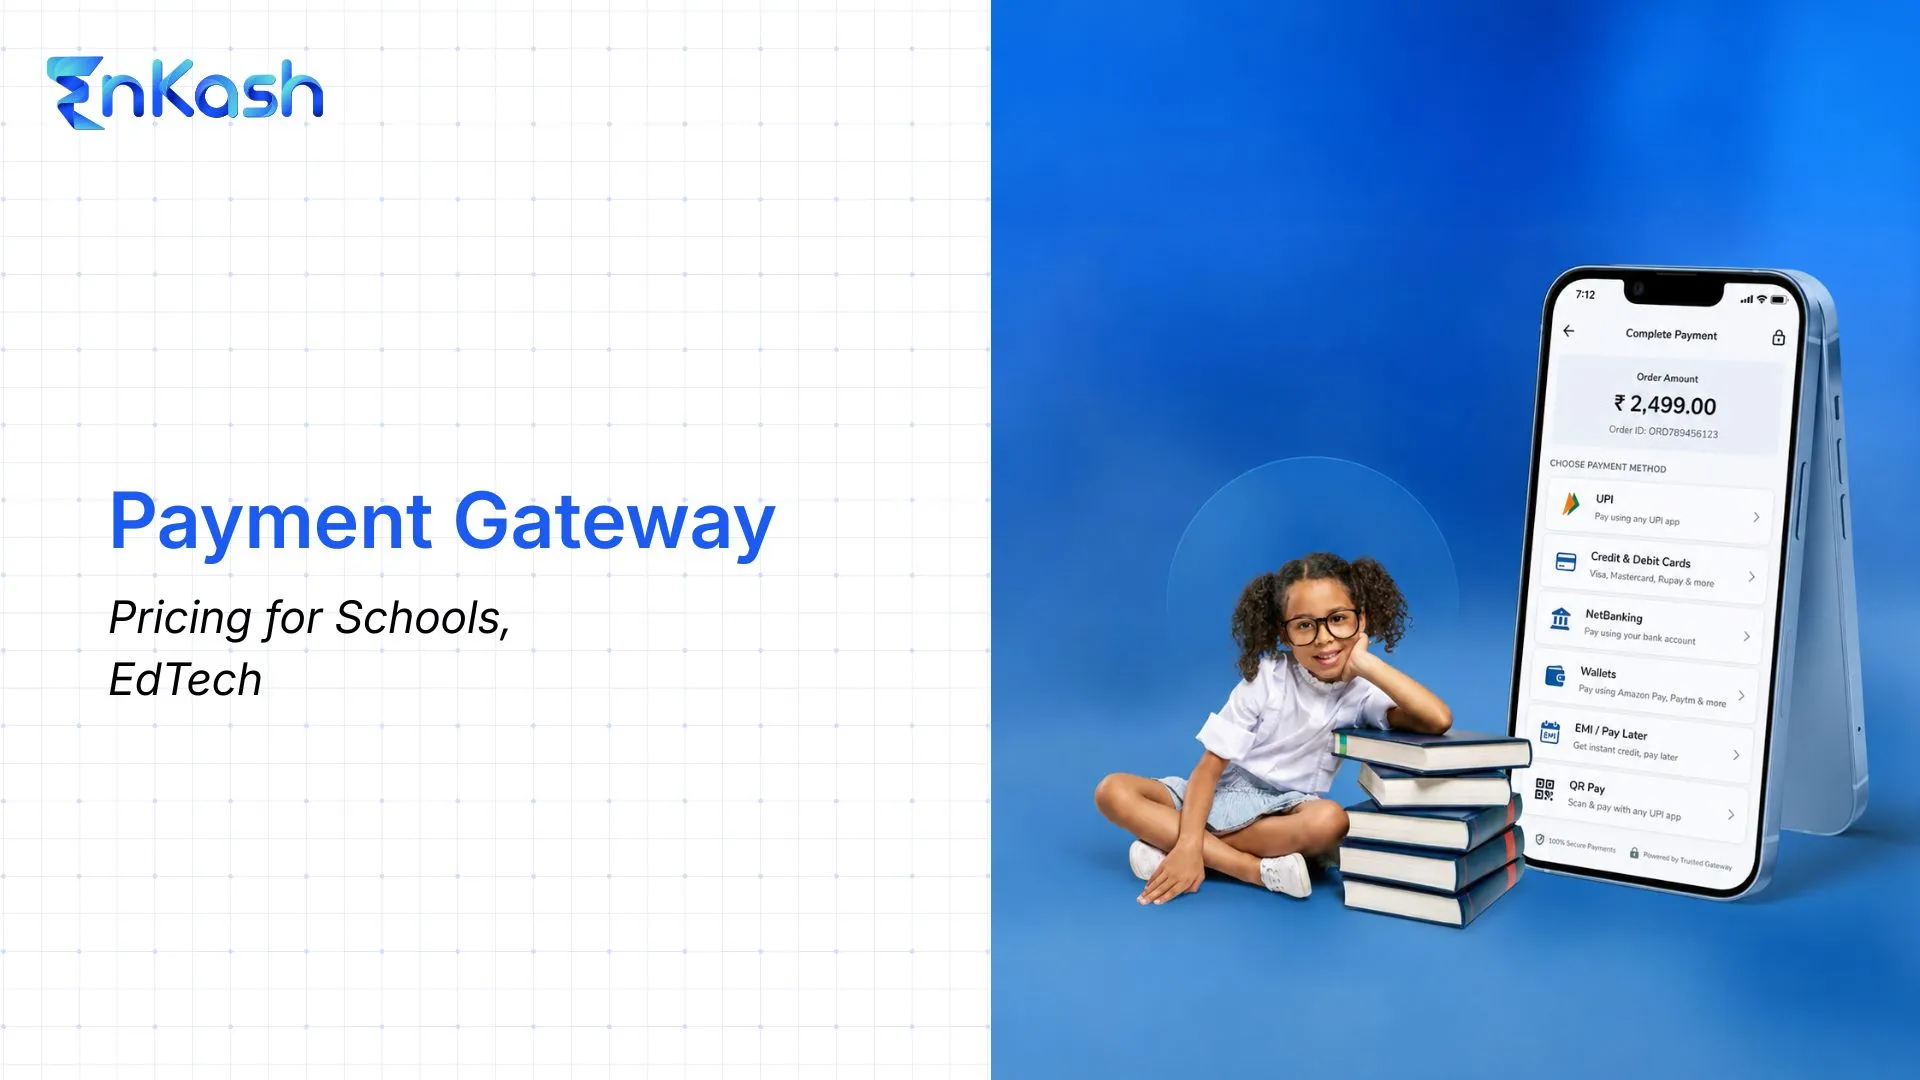
Customers can pay through:
For a deeper understanding of payment gateways and how they work, read our detailed Payment Gateway blog.
What is Payment Gateway Integration?
Payment gateway integration is the process of securely connecting a payment gateway to your website or application so customers can complete online transactions using methods like cards, UPI, net banking, wallets, and more. It enables encrypted data transfer, real-time authentication, smooth checkout flow, and automated settlement, all without exposing sensitive financial information. A well-implemented payment gateway integration ensures:
- Secure and reliable payment processing
- Minimal drop-offs during checkout
- Faster customer onboarding and conversions
- Easy reconciliation and reporting for businesses
It is the technical setup that allows your website to accept and process digital payments safely and efficiently.
How Does a Payment Gateway Work?
A payment gateway authorizes online transactions within a few seconds, ensuring that payment information moves securely between the customer, the merchant, and the bank. Here’s how the process works:
Step 1: Customer Initiates the Payment The customer selects a product or service, proceeds to checkout, and chooses a payment method such as a card, UPI, net banking, or wallet. Once payment details are entered, the request is submitted.
Step 2: Encryption of Payment Details The gateway secures data in transit using HTTPS (TLS). For card payments, it can also use tokenization so sensitive card details are not stored or exposed..
Step 3: Authorization Request to the Bank The payment gateway forwards the encrypted request to the issuing bank or payment processor, which verifies account details, balance availability, and fraud checks.
Step 4: Bank Approves or Declines the Transaction The issuing bank sends a response indicating approval or decline based on the verification, balance availability, and security parameters.
Step 5: Payment Completion & Settlement If approved, the transaction is processed, and both the customer and the merchant receive confirmation instantly. Settlement to the merchant’s bank account happens as per the gateway’s settlement cycle (for example, T+1 or T+2, or instant, where enabled).
A payment gateway ensures each step is secure and fast, creating a smooth checkout experience.
Read more in detail about how the payment gateway works
How to Choose the Right Payment Gateway for Integration
Selecting the right payment gateway is essential for offering secure, seamless, and high-conversion online payment experiences. The ideal gateway should support your business needs, customer preferences, and technical setup. Here are the key factors to consider:
1. Security and Compliance
Ensure the gateway follows strong security standards such as PCI DSS, SSL encryption, tokenization, and 3D Secure authentication. This protects sensitive customer data and reduces fraud risk. For businesses in India, check whether the payment gateway adheres to RBI guidelines for payment processing and data security requirements.
2. Supported Payment Methods
Pick a gateway that supports the payment preferences of your customers, including cards, UPI, net banking, wallets, BNPL, and EMI options.
3. Transaction Speed and Success Rate
Choose payment gateway providers known for fast processing and high success rates, as this directly affects conversions and user experience.
4. Pricing and Fees
Compare costs such as per-transaction fees, international charges, setup fees, and refund or chargeback costs. Select a gateway that fits your business volume and margins.
5. Ease of Integration
Opt for gateways that offer clear API documentation, plugins for CMS platforms, payment gateway SDKs for mobile or web apps, and a sandbox environment for testing. This helps launch payments quickly with minimal development effort.
6. Settlement Time
Check the settlement cycle (T+1, T+2, or instant) and choose one that supports healthy cash flow for your business.
7. Customer Support
Look for dependable support through chat, email, or dedicated managers, especially during onboarding and high-traffic periods.
How to Integrate a Payment Gateway into a Website
Integrating a payment gateway allows your website or app to accept secure online payments. The exact process depends on whether your site is built on a CMS platform like Shopify or WooCommerce, or a custom-developed website. Here’s how each approach works:
(Shopify, WordPress, WooCommerce, Magento, BigCommerce) CMS platforms provide the easiest integration because most payment gateways offer ready-to-use plugins or extensions.
Step 1: Choose a Payment Gateway. Select a gateway that supports your required payment methods and currencies.
Step 2: Install the Plugin or App From your CMS marketplace (Shopify App Store, WooCommerce Extensions, Magento Marketplace), install the desired payment gateway plugin.
Step 3: Add API Keys. Enter the following in plugin settings:
- API Key
- Secret Key
- Webhook URL (recommended)
Step 4: Customize Checkout Settings. Configure:
- Payment display labels
- Method ordering
- UPI priority (for India)
- Success/failure redirect URLs
Step 5: Test in Sandbox Mode. Run test payments to verify successful and failed scenarios.
Step 6: Go Live. Switch to live mode and begin accepting payments instantly.
Integrating a Payment Gateway in Custom Websites (PHP, Python, Java, Node.js, .NET, etc.)
Custom websites require API-based or SDK-based integration for more control and customization.
Step 1: Create a Merchant Account. Sign up with your payment gateway provider and complete KYC.
Step 2: Generate API Credentials. Collect:
Step 3: Implement Gateway APIs. Developers integrate:
- Payment creation
- Callback handling
- Signature verification
- Refund processing
- Webhook events
SDKs for Android, iOS, and JavaScript make this faster.
Step 4: Apply Security Best Practices. Use HTTPS, tokenization, 3D Secure, and server-side validation.
Step 5: Test in Sandbox Mode: Simulate live payments, failures, refunds, and webhook flows.
Step 6: Go Live and Monitor. After deployment, track:
- Success rates
- Drop-offs
- Fraud alerts
- Settlement timelines
- Continuous monitoring helps optimize conversions.
For more information, read How to Set Up the Payment Gateway Integration.
Shopify Payment Gateway Integration
Shopify provides a simple payment gateway setup through supported third-party providers. Here is the streamlined process to integrate a gateway on your Shopify store:
Step 1: Open Payment Settings. In your Shopify dashboard, go to Settings → Payments to view the payment providers available in your region.
Step 2: Select a Payment Provider. Choose from Shopify-supported gateways such as EnKash, Razorpay, PayU, Cashfree, Stripe, and others.
Step 3: Connect Your Gateway Account. Enter your API credentials (API key, secret key, and merchant ID if needed) to link your Shopify store with the gateway.
Step 4: Adjust Checkout Preferences. Configure capture settings, refund options, and customer notifications. You can also reorder payment options based on customer preferences.
Step 5: Run Test Transactions. Use the gateway’s test mode to simulate payments and verify that your checkout works correctly.
Step 6: Activate Live Mode. Turn off test mode once you're ready and begin accepting payments seamlessly. Shopify merchants often prefer EnKash and other modern gateways because of their quick onboarding, strong success rates, secure processing, and smooth reconciliation features.
Read more in detail about Shopify Payment Gateway integration
Best Practices for Payment Gateway Integration in Websites
A well-integrated payment gateway improves customer trust, reduces drop-offs, and ensures smooth transaction flow. Following best practices helps you maintain security, reliability, and performance throughout the checkout process.
1. Optimize for Mobile Users. Ensure your checkout loads quickly and works well on mobile devices, since many customers pay through their phones.
2. Strengthen Security: Use HTTPS, enable authentication layers, and validate all server-side requests to keep payment data safe.
3. Provide Clear Guidance During Checkout. Use simple labels, show accurate error messages, and guide users through each step to prevent confusion or repeated failures.
4. Track Payment Performance: Monitor success rates, drop-offs, and refund patterns regularly to identify issues and improve conversions.
5. Offer Multiple Payment Options. Give customers flexibility by supporting the most commonly used payment methods in your market.
6. Use Webhooks for Updates. Webhooks help your system receive transaction notifications instantly and reduce any mismatch in payment status.
7. Test Frequently. Always test your integration in sandbox mode before going live and after making major changes.
Conclusion
Integrating a payment gateway is essential for delivering a smooth, secure, and reliable payment experience on your website. By choosing the right provider, following the recommended integration steps, and optimizing checkout performance, businesses can improve conversions and customer satisfaction. EnKash makes this process easier with secure infrastructure, clear documentation, and flexible integration options that help businesses accept online payments confidently across web and mobile. A well-executed integration not only supports growth but also ensures that customers enjoy a seamless and trusted payment experience every time.
FAQs
1. What is payment gateway integration?
Payment gateway integration is the process of connecting a secure payment gateway to your website or app so customers can pay online using methods like cards, UPI Payments, wallets, and net banking.
2. How do I integrate a payment gateway into my website?
To integrate a payment gateway, you need to create a merchant account, generate API keys, connect the API or plugin to your website, test transactions in sandbox mode, and then go live. For CMS platforms like Shopify or WooCommerce, integration is done through plugins. Custom websites use APIs or SDKs.
3. Which payment gateway is best for website integration?
The best payment gateway depends on your business needs, supported payment methods, pricing, settlement speed, and success rates. Many businesses prefer solutions that offer strong security, easy integration, and real-time reporting. EnKash is a reliable option for businesses that want secure processing, flexible integration modes, and a unified dashboard for tracking payments and settlements.
4. Is payment gateway integration secure?
Yes, if the gateway follows required standards such as PCI DSS compliance, SSL encryption, tokenization, 3D Secure, and server-side verification. Proper implementation ensures safe and reliable online transactions.
5. What documents are required to integrate a payment gateway?
Typically, businesses need KYC documents such as company registration proof, PAN, GST details, bank account details, and authorized signatory information.
6. Does EnKash support API-based payment gateway integration?
Yes. EnKash provides API and SDK documentation that helps businesses integrate the payment gateway into websites or mobile apps with ease, along with secure processing and real-time tracking.