Introduction
Businesses nowadays are always trying to find seamless ways to get paid. Whether it’s your small business, startup, or enterprise, having payment requests scattered across WhatsApp, emails, landing pages, or WordPress can create challenges for vendors to collect payments. With an online payment button installed, friction is removed at the point of checkout, thereby easing the collection of amounts due. In this blog, we will explore how to add the payment button, customize it for a better user interface, and avoid common mistakes.
What Is a Payment Button?
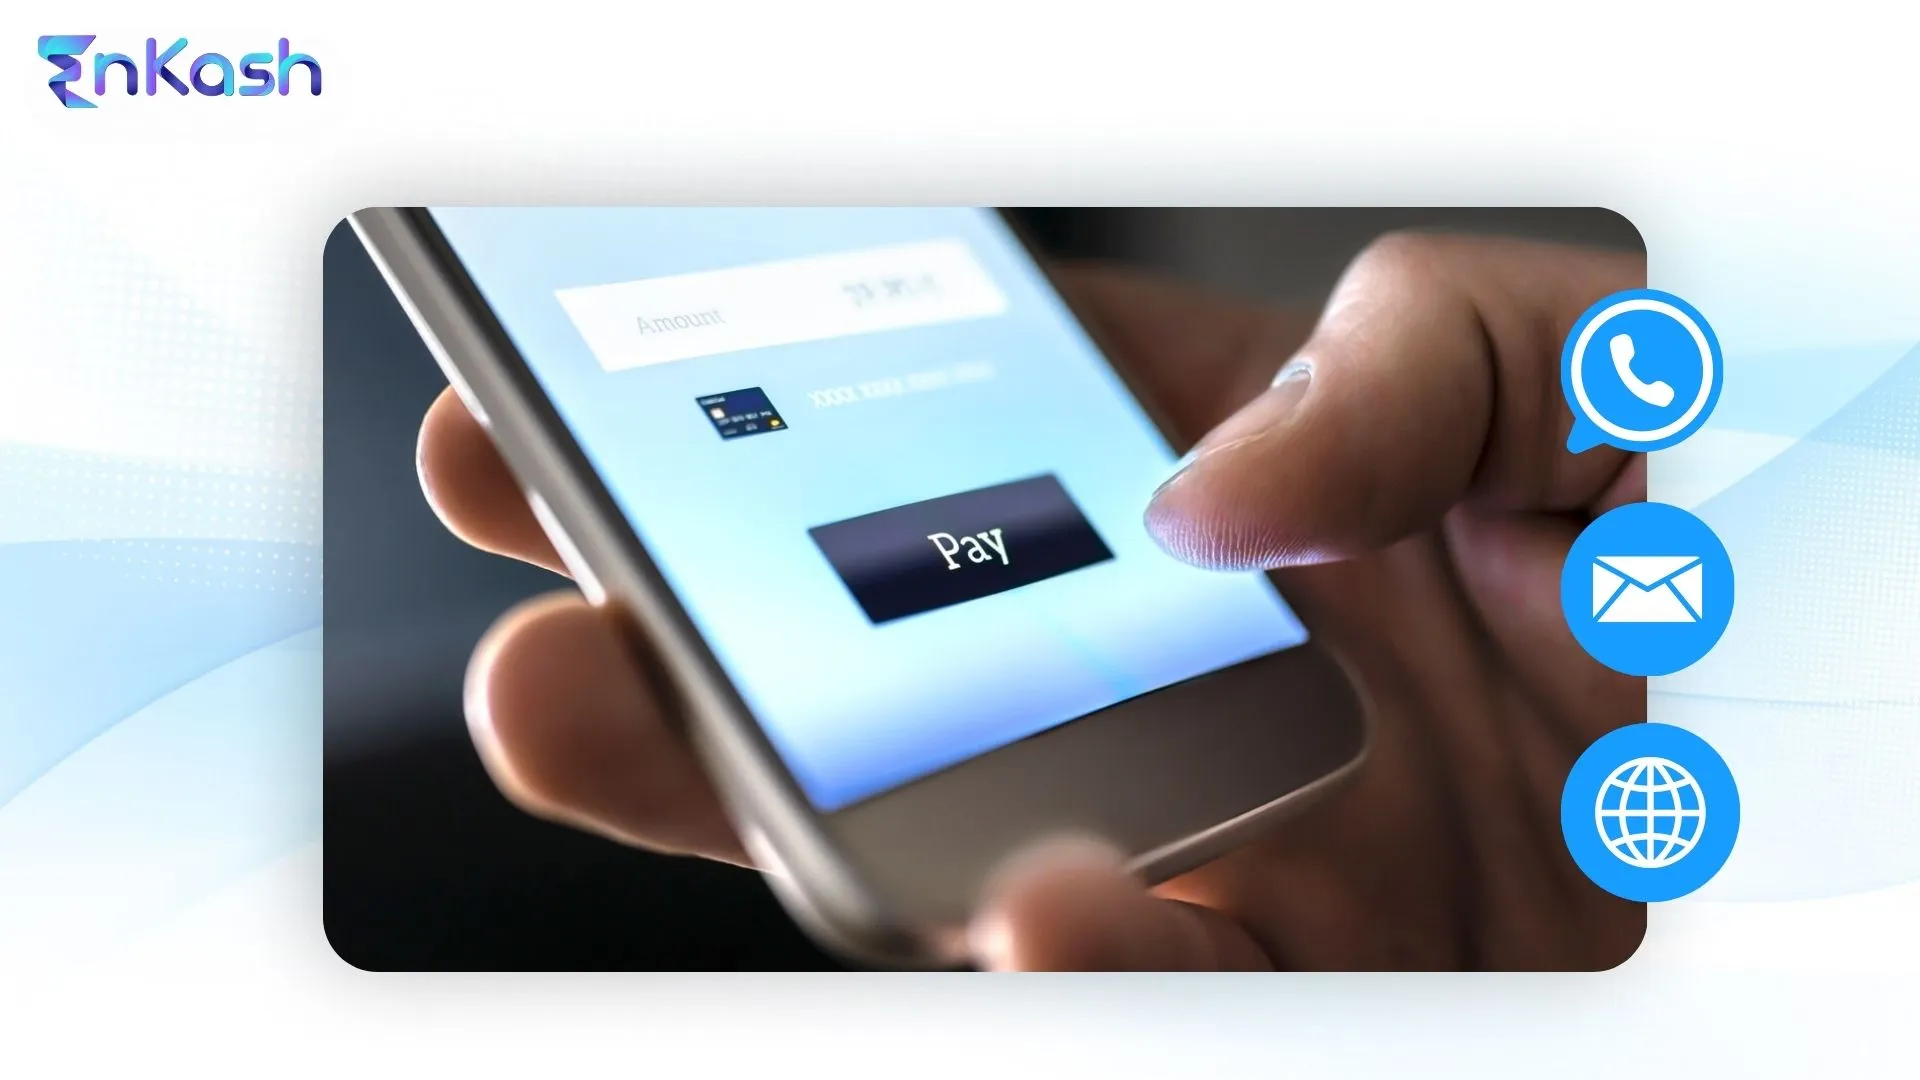
A payment button is a clickable element meant to instantly transact payments from anywhere on a website, landing page, email, or messaging app such as WhatsApp. Instead of sending users off to a torturous checkout form, a payment button eases the buying process by allowing the customer to finish up with only a few clicks. Businesses can simply embed a pay button in any digital interface, select a specific amount, and adapt it to the nature of their transaction – an instance of such a transaction may include the purchase of goods, services, subscriptions, or donations. Popular payment methods supported include credit/debit cards, net banking, and UPI, all of which are simple, easy to operate, and typically processed in real time across India. Payment buttons are suitable for small businesses that want to securely collect money promptly without establishing an advanced checkout system. With the increase in online transactions, online payment button integration ensures a smooth user experience, less cart abandonment, and a higher conversion rate. These buttons are the new age of digital payments – including having an option to embed a pay button on your WordPress website or sharing it with your audience via email and WhatsApp.
How To Create A Payment Button For A Small Business
Having payment buttons on its site is one of the easiest ways small businesses can accept online payments without heavy investments in technology infrastructure. Platforms like EnKash make it all very user-friendly, fast, secure, and require no coding knowledge-one of the forms of e-payment. Follow these steps to get started:
1. Create EnKash Account
Begin by registering your business on the EnKash platform. Proceed with KYC verification by submitting essential documents such as business registration proof, PAN card, bank details, and identity proof. This ensures greater traceability and security for the payment transactions.
2. Select Payment Type
Decide if the goal is to collect a fixed amount (Product A or Service B) or a variable amount (Donation, service charge, or tip). Both options can be set up easily from the EnKash dashboard.
3. Generate the Pay Button or Link
Once you have selected the payment type, generate a payment button or link through a dashboard. The platform will give you an HTML code or a link that can be shared over various platforms.
4. Customizing Button Text and Appearance
A personalized Pay Now button will say a lot about your business. You can label it “Buy Now,” “Pay Now,” or “Donate Here.” Colors or font sizes may be changed to coordinate with your website or brand.
5. Adding or Sharing Payment Buttons
On the Web, within a blog, or on a WordPress page, payment buttons may be embedded using the HTML code generated or shared simply as a payment link using messaging apps like WhatsApp or Email. Such freedom is certainly appreciated by small businesses that still have to set up a full-fledged e-commerce store.
6. Instantly Start Accepting Payments
Post-integration, customers will be able to pay through credit/debit cards, net banking, wallets, or UPI payment buttons, which are rapidly becoming the most preferred. Throughout the process, everything is fast, mobile-friendly, and secure, perfect for startups and small business owners.
How to Integrate Payment Button with WhatsApp and Email
Naturally, payment must remain seamless when communicating directly with clients through WhatsApp and email. This is made easier by full-fledged platforms such as EnKash. A good way of using this feature is as follows:
Generate a Payment Link from EnKash
First, log in to EnKash and generate your payment link. Send this link as it is, or choose to shorten it using any of the shortening tools available to keep things simple and neat.
Share the Link on WhatsApp
Afterwards, take the link and paste it into a WhatsApp message. The message can be personalized using the recipient’s first name, mentioning the amount to be paid, and using a call to action such as “Pay Now.” This is one great way of doing business as a small business owner, freelancer, or service provider.
Include the Payment Link in an Email
For email, give the recipient a clear call-to-action such as “Click Here to Pay,” either as screen text made bold or a button using HTML edit tools provided by Gmail, Outlook, or Mailchimp. This approach makes the payment process more intuitive for your users.
Uses in Multiple Scenarios
Are those links for invoicing, subscription payments, or payment reminders? Whichever the case, having the payment buttons in WhatsApp and email makes the payments easier for the customers, resulting in faster, smoother transactions.
Also Read: Benefits of Using a Payment Button.
Add a Payment Button on Landing Pages for Instant Checkout
Placing a payment button on your landing page can improve the user experience due to the power of fast and smooth checkouts. Instead of redirecting the user to a lengthy, separate checkout page, the button allows payment to start immediately within the same interface, while still being processed securely via a payment gateway. EnKash provides a pretty simple process for creating and embedding a button.
Log In to EnKash and Head Over to the Payment Button Settings
Enter your EnKash account credentials to initiate this. Once you are in the dashboard, go to the area for setting up the payment button, which is where you will arrange the look and functionality of the button on your landing page.
Button settings to fit your page design
EnKash allows complete control over the appearance and behavior of the payment button. You can decide if you want the payment amount to be fixed or left editable by the customer; also, choose from the following: label text (e.g., Pay Now, Donate, or Buy), button color, or button size to make it look in tandem with the visual identity of your landing page. This ensures that the button does not look out of sync within your content.
Generate the Code to Integrate into Your Landing Page
Once all the button options are approved, EnKash instantaneously fashions a tailor-made snippet of HTML or JavaScript code. This final piece of code makes the binding of your website with the EnKash payment system and thereby guarantees a safe payment experience for the user. Be sure to copy the entire code without making any edits afterward.
Embedding the Button Code on the Webpage
One needs to log in to the website backend or into a page builder interface that supports HTML codes, so as to embed the payment button onto a landing page. The inclusion of such code snippets just before the closing </body> tag of a page’s HTML code ensures fast loading without conflicting with other elements inside the page.
Check to see if the button is working properly
Once the button is embedded, one should run a test or two to make sure everything works smoothly. Check how the button looks and behaves on the page from desktop and mobile.
See that upon clicking, one is redirected to the secure payment gateway, and the payment amount is indeed accurate. With these in place, one can curb cart abandonment and, therefore, help conversions.
Adding a Payment Button to WordPress Easily
For users working with the WordPress platform, the integration of the EnKash payment button is equally well guided in its simplicity. Irrespective of the Classic Editor or the new Gutenberg Block Editor, the button can be added quickly and comfortably.
Logging into the Admin Panel and Choosing the Page
One has to start by logging into the WordPress dashboard. From there, go to the post or page where the payment button has to appear and click to edit it.
Using the HTML Mode in Your Editor
The Classic editor provides a “Text” option that invokes an editor view of the actual HTML. The Gutenberg, however, maneuvers on a different principle: Using a “Custom HTML” block somewhere inside your section would be the only method to place your button there. But of course, the editor requires pasting in the snippet copied from EnKash with either method.
Save, Update, and Preview Your Page
When done with pasting the code, click Update/Publish on your WordPress editor, and you are ready to preview your page on various devices to ensure that the button will appear nicely and will function as expected.
WordPress plugins can be considered for better integration.
These plugins assist with simplified payment button integration. Some offer drag-and-drop solutions, and certain India-specific plugins also support UPI and QR-code-based payment options. Consider these if you want to avoid directly interacting with the code and prefer a more visual setup.
Style the Buttons via Custom CSS or Settings of Your Plugin
Custom CSS can be implemented, aside from the standard style, to target design requirements. This can also be done from within the theme or plugin custom options available. They could set the padding to something greater and have more rounded corners, choose different fonts, or apply hover styles to keep things more interactive.
Ensure Mobile Responsiveness for Better UX
Lastly, checking that your payment button is mobile-friendly becomes important. Most users will visit your website through their smartphones, and hence the button should resize and align properly on all devices. You can use tools like Google’s Mobile-Friendly Test or manually check the layout on varying screen sizes.
Customizing Your Payment Button for Better User Experience
A well-designed payment button can refine the aesthetics of your website and attract more conversions. Some simple changes can delight customers, providing them with a smooth experience and thereby successfully encouraging completion of transactions.
Use Clear and Action-Oriented CTA Text
The payment button text should clearly and instructively convey an action. “Pay Now,” “Buy Instantly,” or “Complete Purchase” leave no second-hand option for the user to guess what could be next. If some find such words a little pushy, then avoid confusing, ambiguous, or complicated words.
Set brand consistency goals
Ensure that your payment button seamlessly integrates with your site’s color scheme, typography, and design. A button that appears somewhat “alien” may sound suspicious to users. Matching button styles with your overall brand aesthetic increases user trust, which makes checkout more pleasant.
Put trusted icons and logos
Putting small logos near the button can boost confidence, such as those of Visa, Mastercard, RuPay, or UPI. These logos make the user feel that secure and popular payment methods are indeed accepted, increasing the possible completion of transactions.
Be mobile responsive
Considering there is a robust number of candidates working and shopping through the mobile channels, your payment button must be mobile-responsive. It must resize and reposition; however, it also needs to appear precisely on the smaller screen. Any such button being too small or misplaced on the screen might lead to such an abandonment of checkouts.
Fix load speed and performance
The payment button should come in at the same time as the page. If the payment button loads too slowly, it disrupts the user experience and may cause visitors to leave. Also, from an optimization standpoint, consider having minimal styling on buttons, with scripts that are optimized, so they remain light and fast.
Place the Button Strategically
The button should be as visible and logical as possible: usually below product descriptions, price breakdowns, or near the “total amount” section. Once placed strategically, drop-offs during payment will be reduced, and the user will see the payment step as a natural next action.
Best Practices for Payment Button Integration
To achieve serenity and non-jarring experiences across several platforms, landing pages, WordPress, or an e-commerce website must follow a few best practices for payment button integration.
Cross-test on Devices and Browsers
Before taking a payment button live, have it tried and tested on numerous devices such as desktops, tablets, mobiles, and browsers like Chrome, Safari, Firefox, etc. This will make sure that the button is visually appealing on all platforms and carries out its intended functions.
Use Secure Payment Gateways
Always connect your button to a PCI-DSS-compliant payment gateway, and ensure your website uses SSL (HTTPS) to secure the transaction. This increases the user’s confidence in third-party payment data and reduces the chances of them abandoning payment.
Reduce Clicks For Speedy Checkout
Try to keep the entire checkout process to 2-3 clicks at most. Conversion rate is higher when fewer steps exist for customers to perform. Smooth payments with fewer redirects provide a happier customer.
Track Button Performance with Analytics
Use built-in analytics tools like EnKash’s dashboard insights to track the number of clicks, transactions completed, and drop-off rates. This can assist in further improvements and in increasing the success rate of the payments.
Common Mistakes to Avoid During Payment Button Integration
Payment button integration can really increase user experience—if done well. Unfortunately, several common mistakes will get in the way of the procedure and cause missed conversions. Here are essential mistakes to avoid:
Unclear CTA Text
Do not use terms like “Click Here” or “Submit.” Your call-to-action should clearly state that it is a payment action: “Pay Now,” “Complete Purchase,” etc.
Poor Button Placement
Placing the payment button too far down the page or behind multiple steps will hurt its visibility and increase drop-offs. It should be in front of the eyes and easy to reach.
No Post-Deployment Testing
Many times, people forget to test the button after launch; always check that the button works properly, leads to the correct gateway, and processes transactions successfully.
Ignoring Payment Confirmation Experience
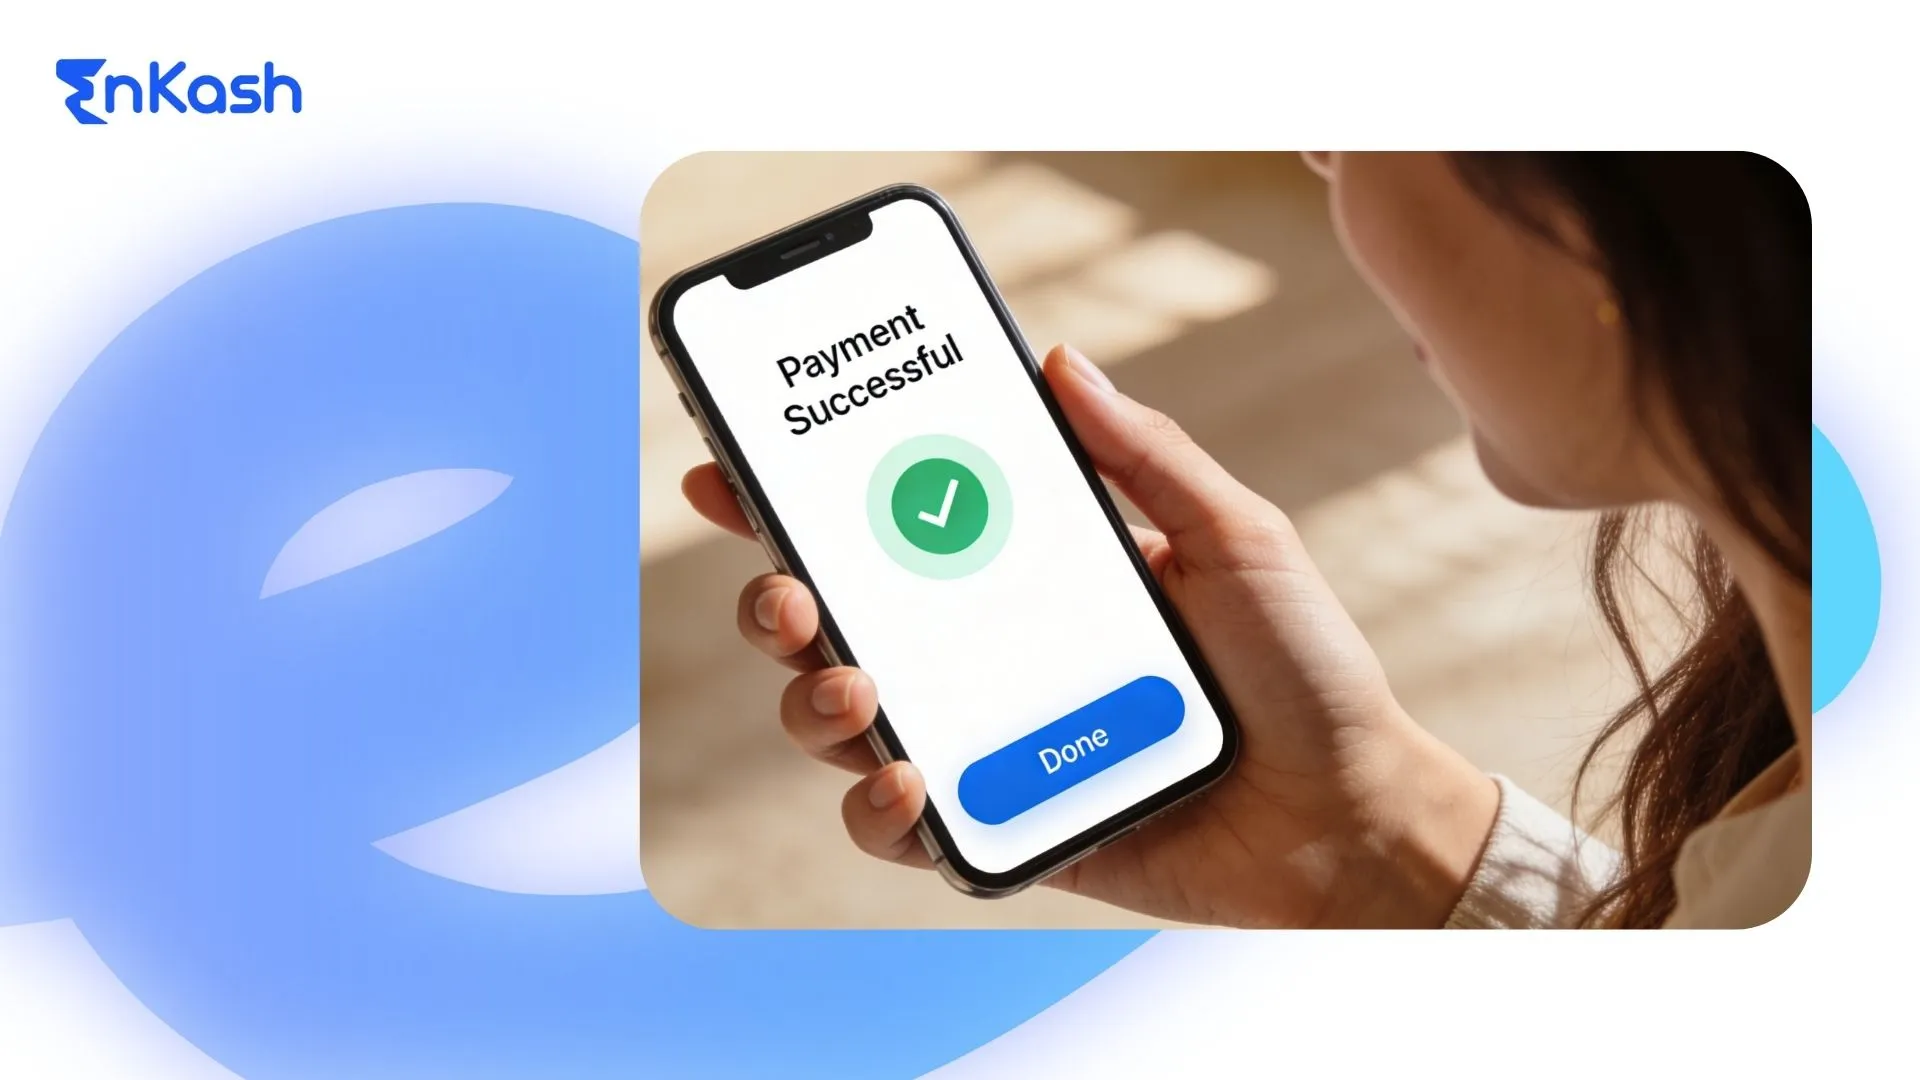
Having no post-pay feedback, such as a thank-you message or an email receipt, tends to confuse the user. Provide a user with clear confirmation to complete the process.
Conclusion
Payment button integrations across platforms like WhatsApp, email, landing pages, or WordPress enable businesses to smooth their collection process and add value to their convenience. Whether you are implementing a payment button for small businesses or looking for ways to add payment buttons in WordPress, EnKash effortlessly carries out your intention. From payment buttons that support UPI to customizable ‘Pay Now’ options, EnKash enables online payments that are quick, secure, and frictionless. This right approach ensures higher conversions, a better user experience, and an overall professional checkout interface across all your digital touchpoints.

