Introduction
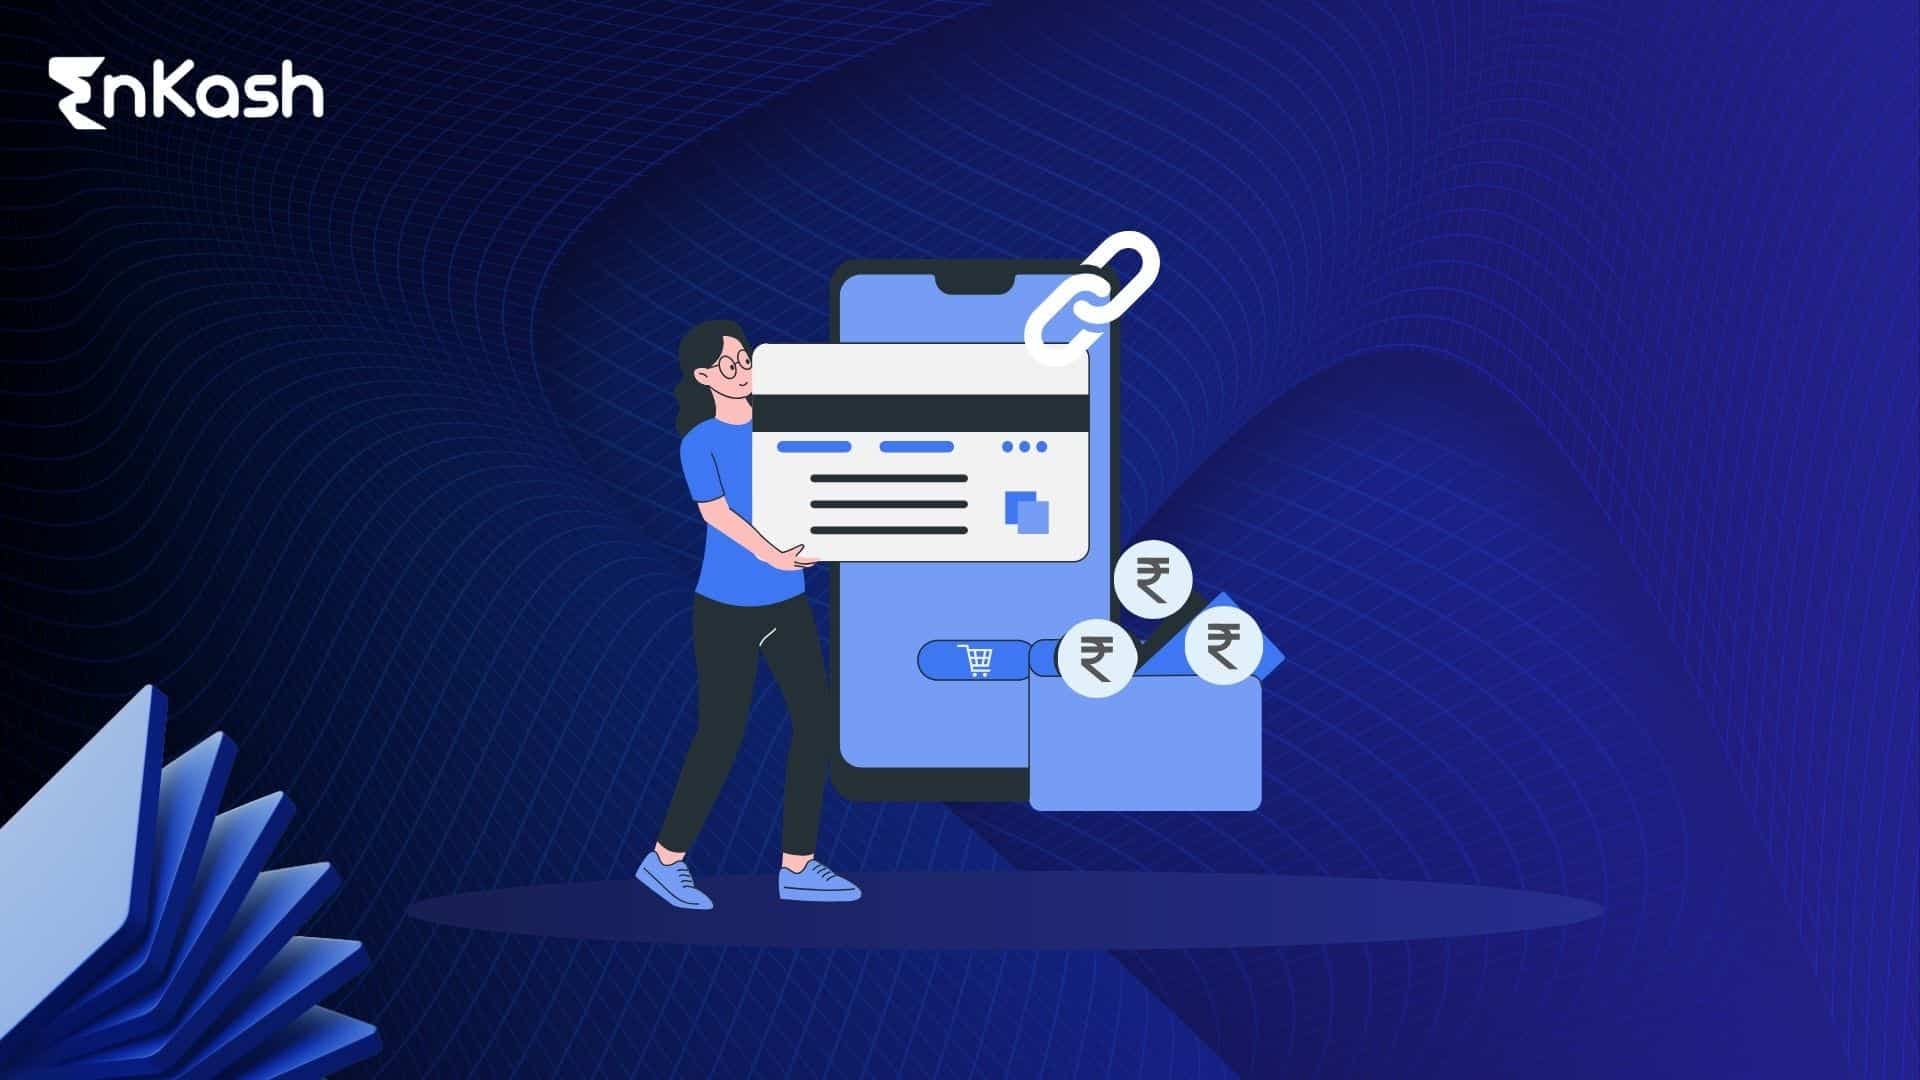
For modern businesses, being equipped to collect online payments has shifted from a nice-to-have to a fundamental necessity. Whether you operate a storefront, deliver digital services, or run a SaaS offering, embedding a safe, direct payments solution into your website will drive growth while reassuring your customers that their transactions are protected. Enter the payment gateway. Think of it as the invisible bridge connecting your website to the buyer’s bank. It authorizes payments, guarantees encryption, and ensures the money moves swiftly. Supporting a range of payment choices—credit and debit cards, UPI, net banking, digital wallets, and others—the gateway turns a simple sale into a frictionless experience. Anyone selling products or services online—whether a retail giant or a solo freelancer—must integrate a payment gateway. The benefits are clear: checkout becomes smooth, trust is strengthened, cash circulation speeds up, and manual reconciliation headaches are eliminated.. In the sections ahead, we’ll guide you, step by step, from choosing a gateway to embedding it, whether you’re in WordPress, Shopify, a hand-coded site, or a no-code builder.
What is a Payment Gateway?
A payment gateway is a platform that helps online retailers authorize and process payments in a secure fashion. It acts as an intermediary between a merchant’s website and the payment networks involved with processing the transaction. This includes verifying customer data, securing sensitive information, and ensuring that funds are transferred securely from the customer to the merchant. Whether you're accepting payments through credit/debit cards, UPI, wallets, or net banking, the payment gateway ensures that sensitive data is transferred securely from the customer to the bank—and back to your website with confirmation.
Parties Involved in a Payment Gateway Transaction
- Customer – Initiates the payment through your website.
- Merchant – The business (you) receiving the payment.
- Payment Gateway – Processes and forwards transaction data.
- Acquiring Bank – Your bank that receives the funds.
- Issuing Bank – Customer’s bank that authorizes the transaction.
Pre-Integration Checklist
Before you link a payment gateway to your website, make sure you have the following essentials in place. These are mandatory for successful integration and approval from most payment gateway providers:
1. Live Business Website (Domain + Hosting)
You need a fully functional website with a registered domain name and active hosting. The website should clearly display your products/services, pricing, terms, and contact information.
2. Registered Business or Sole Proprietorship
Payment gateways require business verification. You must be a registered company, sole proprietor, or freelancer with valid documents like PAN, Aadhaar, bank account proof, or GST certificate (if applicable)
3. Bank Account in Business Name
Have an active bank account in your business or proprietor’s name for fund settlements. This is where the gateway will transfer the payments you collect from customers.
4. KYC Documents
Most gateways follow RBI guidelines and require KYC (Know Your Customer) documentation. Common documents include:
- PAN Card
- Business registration certificate
- Address proof
- Canceled cheque or bank statement
5. SSL Certificate for Your Website
Your website must be SSL-secured (HTTPS) to ensure safe transactions. Payment gateways do not integrate with unsecured (HTTP) websites due to security risks.
6. Payment Gateway Account
Choose and sign up with a payment gateway like EnKash, Razorpay, PayU, Stripe, CCAvenue, or any provider that suits your business needs. Complete the onboarding process and wait for account activation.
Why Is It Important to Choose the Right Payment Gateway?
Selecting the right payment gateway is crucial because it affects the security, user experience, transaction fees, and ultimately, the accessibility of different payment methods for customers. Factors to consider include transaction fees, payment method support, security features, integration capabilities, and the provider’s reputation. Businesses should assess their volume of transactions, target markets, and specific needs to choose the most suitable gateway.
How to Choose a Payment Gateway?
When choosing a payment gateway, businesses should consider the following aspects:
- Security: Ensures that the gateway complies with the Payment Card Industry Data Security Standard (PCI DSS).
- Compatibility: Checks compatibility with existing e-commerce platforms.
- Fees: Compares transaction fees, setup fees, and any hidden charges.
- User Experience: Considers the ease of use for customers during checkout.
- Customer Support: Evaluate the quality of customer support in case of issues or integrations.
What Are the Technical Requirements for Integrating a Payment Gateway?
To integrate a payment gateway with your website, you’ll need a few basic technical setups in place:
- API Keys or Credentials: Provided by the payment gateway after account setup, needed to connect your site securely.
- Developer Access or Plugin Support: For custom-coded websites, a developer can use APIs or SDKs. For CMS platforms (like WordPress or Shopify), plugins or built-in integrations are available.
- Secure Website (HTTPS/SSL): Your website must have an SSL certificate to protect payment data.
- Server-Side Language Support: Your site should support languages like PHP, Node.js, Python, or others compatible with the gateway’s SDKs.
- Callback URL/Webhook Setup: Needed to receive real-time payment status updates (e.g., success or failure).
These technical requirements ensure smooth and secure payment processing on your site.
How to Integrate the Payment Gateway?
Integrating a payment gateway might sound technical, but it’s quite manageable—especially with the right tools and support. Here's a step-by-step guide to help you set it up smoothly:
Create a Payment Gateway Account
Start by signing up with the payment gateway provider of your choice (e.g., EnKash, Razorpay, PayU, Stripe, CCAvenue). Submit the necessary KYC documents and business details Once verified, your account will be activated and ready for integration
Generate API Keys and Webhooks
After activation, log in to your payment gateway dashboard and: Generate API keys (public and secret) – these are used to securely connect your website to the gateway Set up webhooks or callback URLs – these notify your website of payment success, failure, or status changes in real-time.
Choose Integration Based on Your Website Platform
Different platforms have different ways to connect a gateway: For WordPress/WooCommerce: Use official or third-party payment gateway plugins available in the plugin directory. For Shopify:
- Use Shopify Payments or choose a compatible provider from the Shopify Payments settings.
- For Custom-Built Websites (PHP, Node.js, Python, etc.):
- Use the SDKs or REST APIs provided in the payment gateway’s developer documentation.
- For No-Code Builders (Wix, Webflow, Squarespace):
- Use integrated payment widgets or third-party extensions available on the platform.
Test the Integration (Sandbox Mode)
Before going live, always run tests:
- Use the sandbox/test mode provided by the gateway
- Perform test transactions to ensure correct flow, error handling, success/failure redirection, and webhook responses
Go Live
Once testing is successful:
- Switch to live mode in your payment gateway settings
- Start accepting real transactions
- Monitor all payments through your gateway dashboard for accuracy, refunds, and performance insights.
EnKash Payment Gateway
EnKash Payment Gateway has been designed to empower businesses by facilitating payments. The product encrypts transaction data to ensure it remains secure and protected against unauthorized access or potential breaches. Reasons to Integrate a Payment Gateway with a Website
- Fastest Checkout: The payment gateway provides the fastest and smoothest checkout experience.
- Easy Integration: EnKash payment gateway enables easy integration by reducing development efforts and saving time.
- Enhanced Security: The payment gateway’s security is top-notch. It follows the highest industry standards, like PCI DSS compliance.
- Multiple Payment Modes: The payment gateway supports multiple payment modes like credit cards, debit cards, UPI, wallet, and net banking. This allows the user to choose the preferred payment mode.
- Customizable: Businesses can customize the payment gateway as per their requirements and evolving needs. It can easily accommodate a large volume of transactions.
- Reporting & Reconciliation: Businesses can use reporting data from EnKash PG for easy and efficient reconciliation of transactions.
How to Test the Payment Gateway Integration?
Before going live, it is crucial to thoroughly test the payment gateway integration to ensure everything works as expected without any issues. Conducting transactions using test credit cards provided by the payment gateway.
- Verifying that transactions are securely processed and that money is appropriately credited and debited.
- Checking the response time and user experience during the checkout process.
- Ensuring that all security measures work correctly.
Best Practices After Integration
Once your payment gateway is successfully linked to your website, it’s important to follow some best practices to ensure smooth, secure, and customer-friendly transactions: 1. Display Payment Security Badges Show SSL, PCI-DSS, or “Secure Payment” badges at checkout to build trust with customers. These symbols assure users that their payment information is safe. 2. Add Terms & Conditions and Refund Policy Make sure your website clearly states your terms of service, privacy policy, and refund/cancellation policy. This helps avoid disputes and keeps you compliant with payment gateway rules. 3. Use Webhooks for Real-Time Updates Set up webhooks to receive live payment status updates (success, failure, refund). This ensures your system stays in sync with the payment gateway without manual checks. 4. Enable Customer Notifications Send automated email or SMS alerts to customers after every successful or failed transaction. It improves user experience and builds transparency. 5. Monitor Failed Transactions and Success Rates Keep an eye on your transaction reports via the gateway dashboard. Regular monitoring helps identify issues like drop-offs, declined cards, or UPI failures—so you can fix them promptly.
What are Common Issues to Watch Out for?
When integrating a payment gateway, businesses often face technical and operational challenges that can impact the customer experience and revenue flow. Some of the most common issues include:
Declined Transactions
- Transactions may be declined due to insufficient funds, incorrect card details, or strict fraud filters.
- Frequent declines can frustrate customers and increase cart abandonment.
- Businesses should work closely with the gateway provider to fine-tune fraud detection rules and ensure clear communication with customers about failed payments.
Payment Timeouts
- Delays or interruptions during payment processing can occur due to server overloads, poor internet connectivity, or gateway downtime.
- These timeouts can cause customers to abandon their purchase or result in duplicate charges.
- Implementing retry mechanisms and choosing a gateway with high uptime reliability reduces such risks.
Errors in Data Transfer
- Issues in passing payment information between the website, gateway, and bank can cause mismatched transaction records or failed settlements.
- This can create accounting discrepancies and affect reconciliation.
- Businesses should ensure robust API testing, secure data handling, and regular audits of payment logs.
Security and Compliance Risks
- Mishandling sensitive customer data can lead to PCI DSS compliance violations and potential data breaches.
- Businesses must use encryption, tokenization and comply with industry standards to safeguard data.
Integration Challenges
- Improper integration can cause broken payment flows, incorrect redirections, or display issues during checkout.
- Thorough testing across devices, browsers, and payment modes is essential before going live.
Customer Disputes & Chargebacks
- High chargeback rates due to fraud or disputes over products/services can increase costs and damage merchant reputation.
- Setting clear refund policies and using fraud detection tools can minimize these risks.
Conclusion
Integrating a payment gateway into a website is a multifaceted process that requires careful consideration of various factors, including security, user experience, and technical requirements. By following a structured approach to choose, integrate, and test the payment gateway, businesses can enhance their e-commerce operations, offering customers a seamless and secure online shopping experience.
FAQS
1. Do I need to be a registered business to get a payment gateway? Most payment gateways require a registered business, but some also support freelancers or sole proprietors with valid identity and bank documents. Always check the provider’s onboarding policy. 2. Can I integrate UPI and card payments? Yes. Most modern payment gateways like EnKash, Razorpay, PayU, and Cashfree allow you to accept UPI Payments, debit/credit cards, net banking, and wallets through a single integration. 3. Is coding knowledge required? Not always. If you're using platforms like WordPress, Shopify, or Wix, you can integrate via plugins or built-in apps. For custom websites, basic coding or developer support is required for API integration. 4. How long does it take to go live? It typically takes 1 to 3 business days after submitting KYC documents and completing setup, though in some cases it may take longer. Some gateways also offer instant onboarding with limited features.